

If you’ve just been told your septic system needs work, you probably have two questions: how bad is it, and what happens next. Drain field repair sounds like a big, messy, expensive project to most homeowners, and honestly, that fear keeps a lot of people from making the call until the problem gets much worse.
The reality is usually far less dramatic. Most repairs are targeted, planned, and finished faster than homeowners expect. But when you don’t know what the process looks like, it’s hard to budget for it, prepare your yard, or even ask the right questions. So let’s walk through the whole thing, step by step, the way it actually happens.
Step 1: The Initial Assessment
Nothing gets dug up on day one. Every legitimate repair starts with an assessment, because the symptoms of a failing drain field can have several different causes, and they don’t all point to the same fix.
During this visit, a technician will typically ask about the history of the system: when it was last pumped, whether you’ve had slow drains, and if you’ve noticed wet spots or odors in the yard. Then they’ll inspect the visible components. That includes checking the tank, the distribution box (the component that splits wastewater between the drain field lines), and the field itself for signs of saturation or surface pooling.
Some companies also run a hydraulic load test at this stage. That involves introducing a measured amount of water into the system and watching how quickly the drain field absorbs it. If water sits in the lines instead of draining into the soil, the field is struggling. This test gives real evidence instead of guesswork, which matters when you’re about to spend real money.
By the end of the assessment, you should know three things: what’s causing the problem, whether a repair can fix it, and roughly what the options cost. If a contractor wants to skip straight to digging without explaining what they found, that’s a red flag.
Step 2: Locating the System Components
Septic components are buried, so before any repair, the crew has to find exactly where everything is. This might involve probing the ground, flushing a small traceable object or dye, or using a camera in the lines to map the layout.
This step matters more than it sounds. Drain fields are laid out as a grid of perforated pipes called laterals, usually surrounded by gravel or plastic chambers. If the damage is in one lateral, the crew needs to know precisely which one before they cut into your lawn. Good locating means a smaller dig. Sloppy locating means a bigger mess and a bigger bill.
Step 3: The Diagnosis and Repair Plan
Once the crew knows what’s wrong and where it is, you get a plan. Repairs generally fall into a few common categories.
A crushed or clogged lateral line is one of the most frequent issues. Soil can settle, tree roots can invade a joint, or something heavy can compress a pipe over time. The fix is to excavate that section, replace the damaged pipe or clean out the root intrusion, and restore the gravel bed around it.
A failed distribution box is another common culprit. If this box cracks or shifts, wastewater stops flowing evenly to all the laterals and instead dumps into one area, which saturates that zone while the rest of the field dries out. Replacing or releveling the box restores the balance.
Biomat buildup is a third possibility. Over the years, a slimy layer of organic material forms along the bottom of the drain field trenches. In a healthy system, it stays thin. In a neglected or overloaded one, it thickens until water can’t pass through into the soil. Depending on severity, this can sometimes be addressed with rest periods, added treatment, or in worse cases, replacing the affected trenches.
Your plan should state which of these (or which combination) applies to you, what will be dug up, what will be replaced, and how long the work should take. Get it in writing.
Step 4: Permits and Scheduling
In most counties, septic repairs require a permit from the local sewage enforcement office before work begins. Requirements vary a lot by township, and some small repairs are handled with a simple approval while others need a full review.
Ask your contractor early who handles the paperwork. Established local companies usually pull the permit for you or at least walk you through it. This is also the point where the project gets scheduled, and it’s worth asking two practical questions: how many days will the yard be open, and what happens if it rains?
Step 5: The Repair Itself
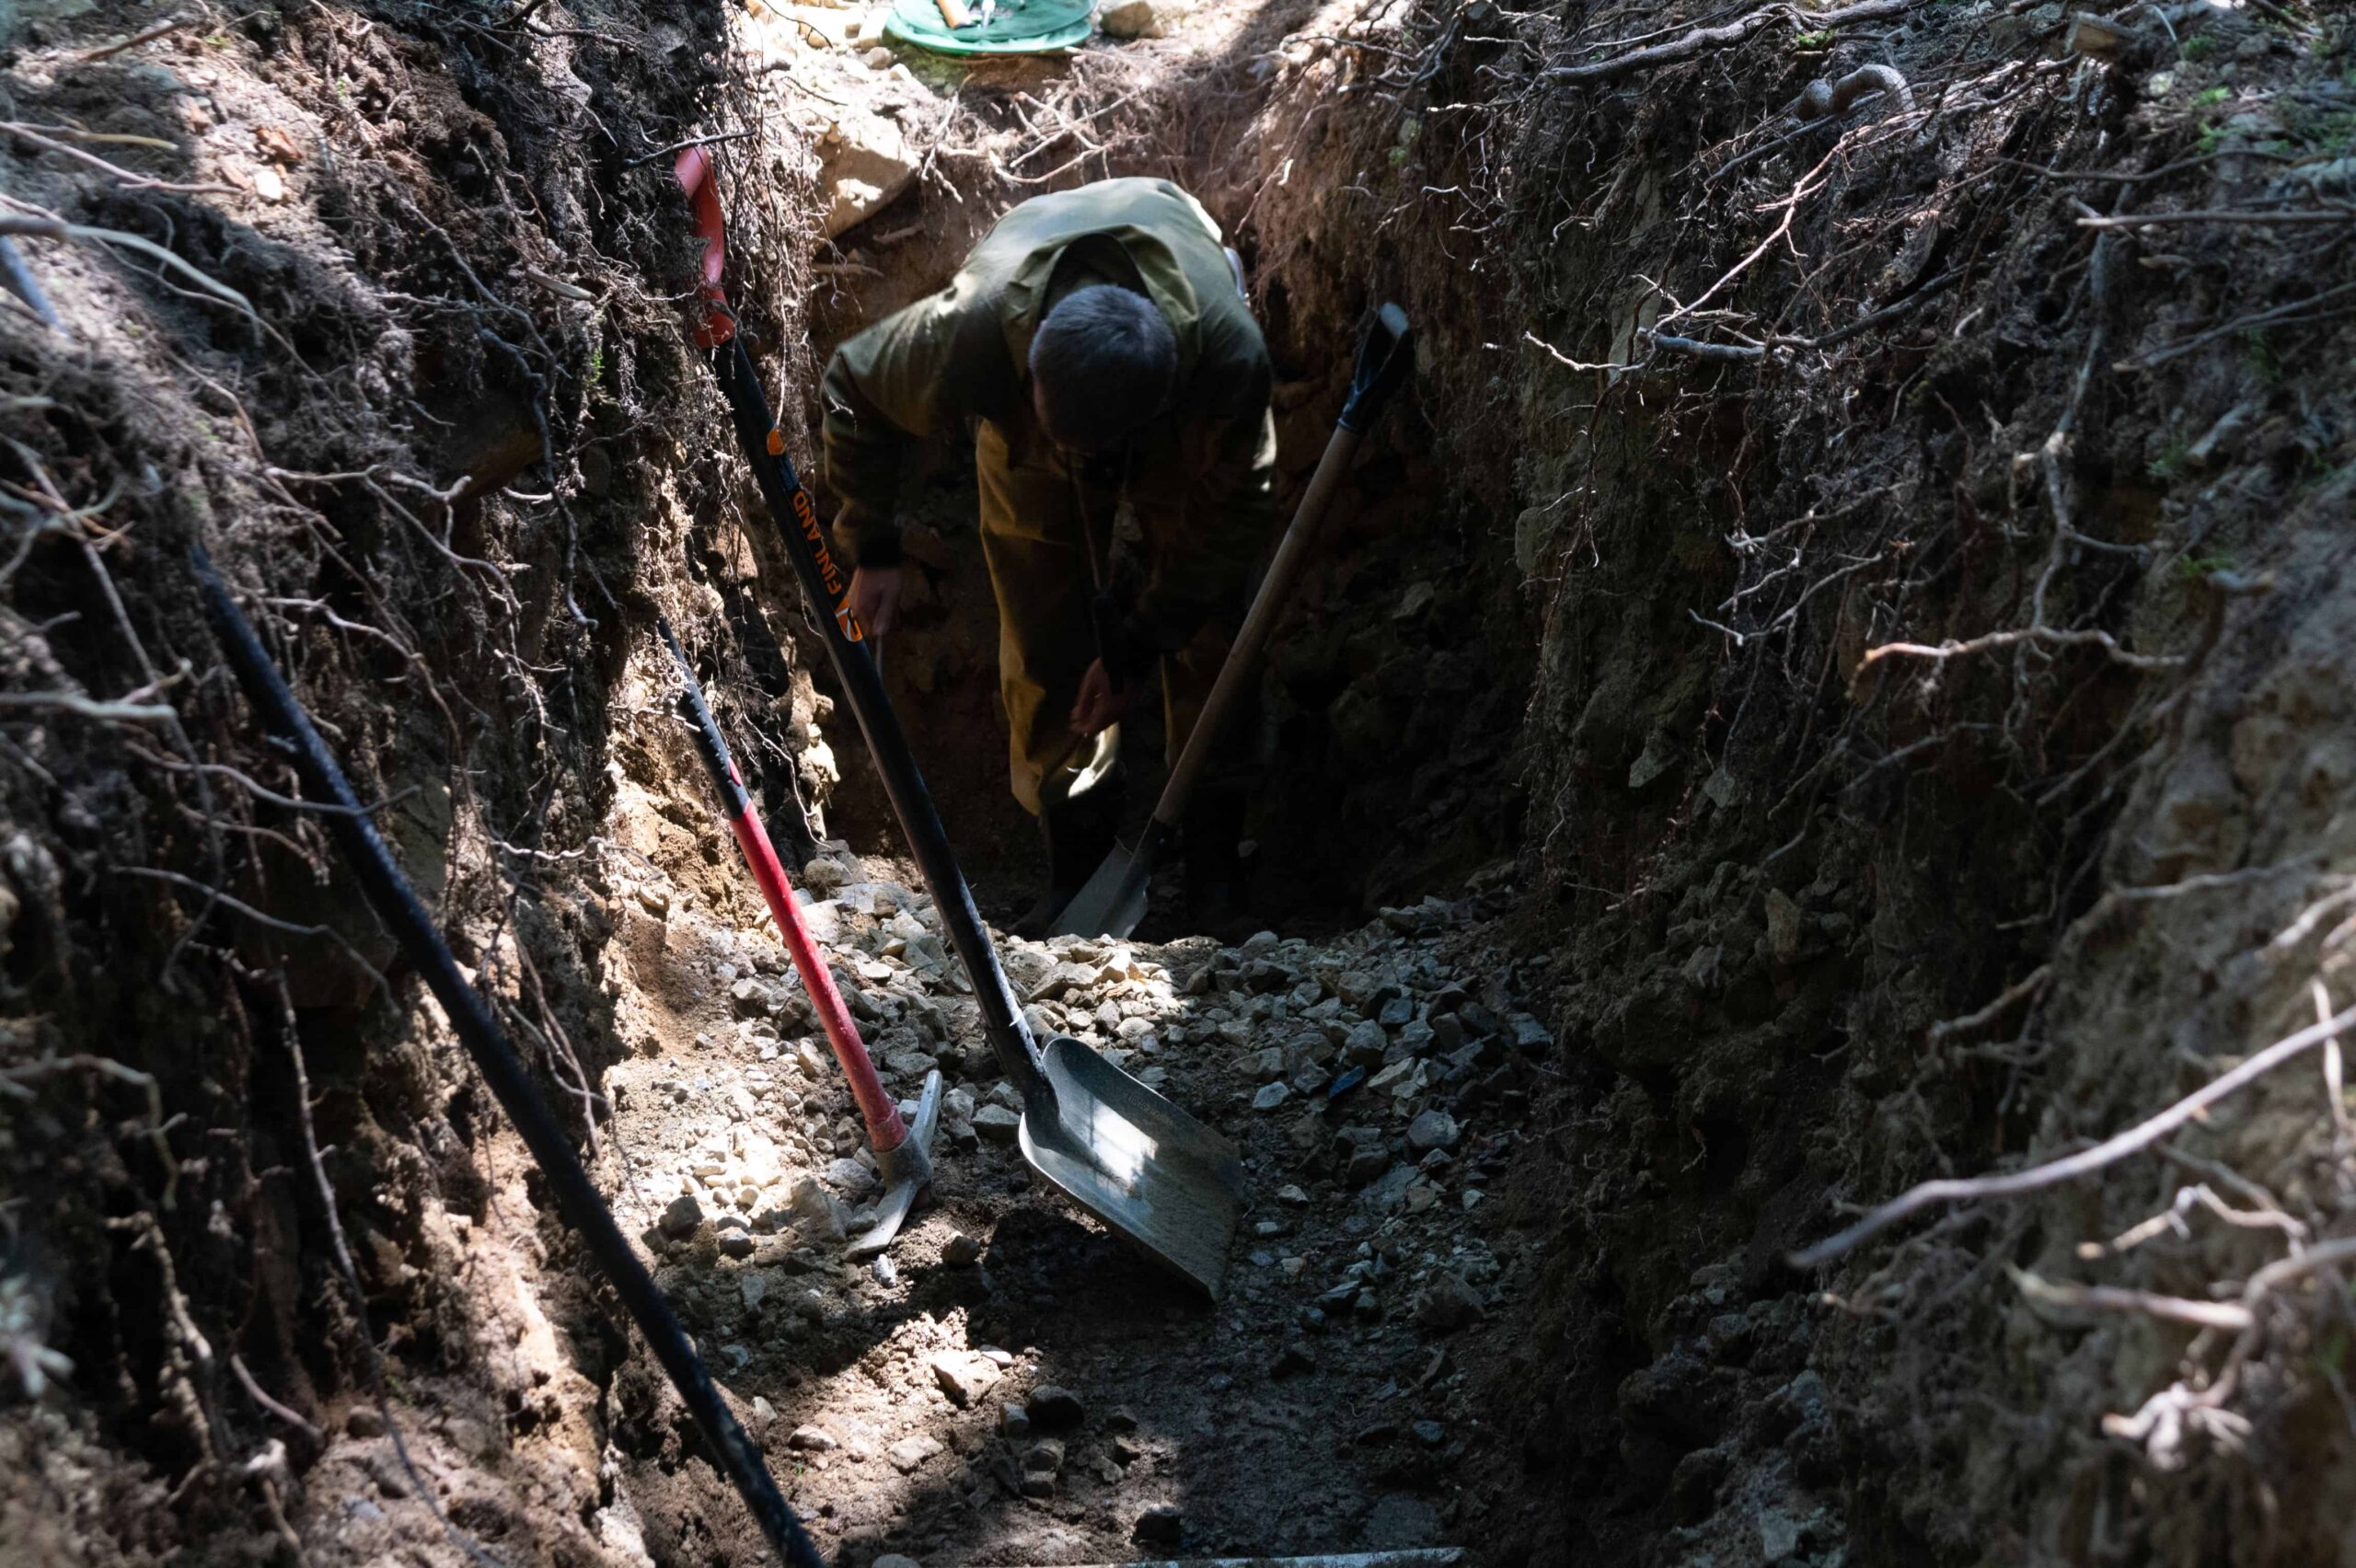
On the work day, the crew marks out the dig area and brings in an excavator, typically a small one for targeted repairs. The soil over the problem area is opened up, and the damaged component is exposed.
From there, the work depends on the diagnosis. A broken lateral gets cut out and swapped for new pipe, with fresh bedding material placed around it. A distribution box gets set at the correct level and sealed. Root damage gets cut out and, in many cases, the crew will recommend measures to slow future root growth.
The lines are then checked for proper flow before anything gets buried. This is the moment where the crew confirms water is moving through the system the way it should, and it’s a step you shouldn’t let anyone skip. Once everything checks out, the soil goes back, gets compacted in layers, and the surface is graded.
For a targeted repair, this whole process often takes a single day, sometimes two. A full replacement is a different animal, but a repair of one lateral or a distribution box is a surprisingly contained project.
Step 6: Site Restoration
The repair isn’t done when the pipe is fixed. The crew should restore the site, raking the soil, smoothing the grade, and in many cases spreading grass seed or straw. Ask beforehand whether restoration is included in the quote, because it isn’t always, and you don’t want to discover a bare dirt rectangle in your yard after the invoice arrives.
One practical note: keep foot traffic, pets, and definitely vehicles off the repaired area for a few weeks. The soil needs time to settle, and a fresh drain field area is not the place to park a car, ever.
Step 7: Follow-Up and Prevention
A good contractor doesn’t just leave. You should get a summary of what was done, what caused the failure, and what you can do to prevent a repeat. Common recommendations include pumping the tank on a regular schedule, avoiding heavy water use in short bursts, keeping deep-rooted plantings away from the field, and never driving over it.
If the original problem was caused by an overloaded tank sending solids into the field, pumping frequency becomes the single most important habit going forward. The repair fixes the symptom. Maintenance addresses the cause.
What This Means for Buyers and Sellers
If you’re buying a home with a septic system, this walkthrough is worth keeping in your back pocket. An inspection before closing can reveal whether the drain field is functioning, and if it isn’t, you’re in a much stronger negotiating position asking for a repair with a defined scope than accepting a vague credit.
If you’re selling, the reverse applies. A documented, functioning drain field is a genuine asset at the negotiating table, and a known problem that surfaces during the buyer’s inspection will cost you more than fixing it proactively.
The Bottom Line
A drain field repair is a lot less mysterious once you see the steps: assess, locate, diagnose, permit, repair, restore, follow up. Most repairs are targeted, most take a day or two, and nearly all of them cost less the earlier you catch the problem.
The homeowners who get hurt financially are the ones who wait for a full failure before acting. If your yard is showing signs, slow drains, spongy ground, unexplained lush grass, get an assessment. Knowing what the process looks like puts you in control of it, and that alone is worth a lot.