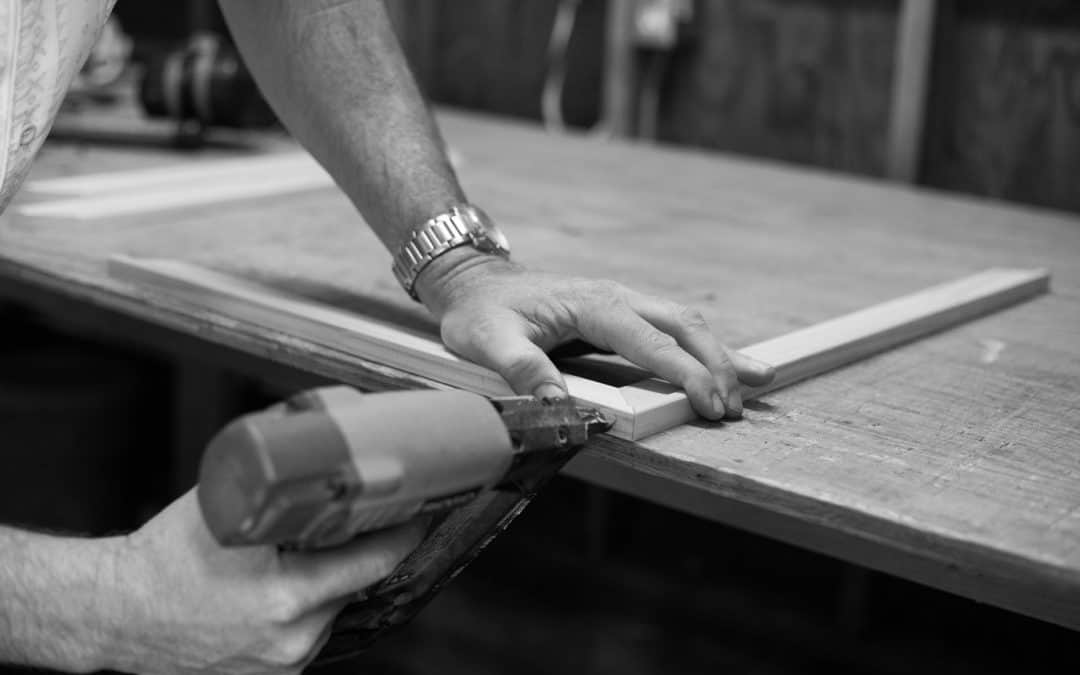
Whether you are a novice DIY woodworker or a pro, everyone wants their projects to look professional. If you like woodworking, a brad nailer will be an essential tool for you. With a little experience and know-how, you can make trim work, cabinets and other furniture projects look more professionally done.
A brad nailer is one of the must-have tools that help the user to drive nails through wood pieces safely and with ease. It is efficiently designed with a trigger mechanism that propels nails through the materials quickly than the traditional and manual counterparts. If you’ve never used one before, they can appear a bit intimidating. Here, you can learn more tips on how to use your brad nailer when working on cabinets, trims, and furniture.
Tools You May Need
- Protective gear
- Brads of the right size for the nailer.
- Brad Nailer/nail gun
- Power supply
Choose the Right Nailer
There are three types of brad nailers that you can choose from. They are:
- Pneumatic brad nailers: – powered by air pressure
- Cordless Brad nailers: – battery-powered
- Electric brad nailers: – uses electric power
Put Safety First
Working with power tools is not free of accidents unless one is careful enough. Be sure you take the time to look over your work space. Make sure it is free of hazards that may trap cords, cause you to trip or stumble, or cause other distractions while the power tool is in use.
Also, be sure you wear proper protective gear. These include woodworkers’ overalls designed to protect you from flying debris, work gloves, hearing protection, and breathing protection/mask if you will be using any chemicals or will be sanding or cutting wood. Don’t forget eye protection! Be sure your safety glasses are properly rated to save your eyes should a nail strike your glasses.
Ensure to read all the user manual instructions before using the tool. You will find tips for working safely with the equipment, and also learn how to properly care for the tools. Check the labels for anything that you need to attach or disconnect.
Loading the Nail Magazine
To open the magazine, depress the cartridge and pull it back for access to the magazine. Place the brads into it and ensure their heads fit into each slot. You can insert as many brads as the recommended number but avoid overloading the nailer. Slide the magazine back and ensure it clicks into place.
How to Use a Pneumatic Brad Nailer
A pneumatic brad nailer uses air pressure to drive nails. While using it, you will need:
- An air compressor and air hose.
- Adjustable wrench
- Air hose adaptor
- Pneumatic tool oil.
- Teflon tape
- Tack cloth
- Connect the Hose Adaptor
Ensure you get the right hose adaptor and attach it to the brad nailer firmly. You can use the adjustable wrench for this, or you may have a “snap and release” type of fitting. Again, check your manual for instructions if you are unsure how to connect your fittings.
To prevent any air leak, you can use the Teflon tape to wrap the hose adaptor. The tape will also ensure that the joint between the adaptor and nailer is tight. (Check the user manual for specific instructions for your model)
- Lubricate the Brad Nailer and Hose Adaptor
All power tools should essentially be lubricated before every use. For the nailer, ensure to lubricate the metal parts and other moving parts according to manufacturers instructions. Clean any spills using the tack cloth.
- Load the Magazine
The loading is similar for all nailer types. The best advice is to ensure that you load the right nail size and avoid overloading the magazine.
- Connect the Nailer to the Air Compressor
Before connecting the two, allow the air compressor to pressurize. Connect them using the air hose and check to ensure both sides are air-tight. Go ahead and test the nailer on waste materials before you can start the actual work. You’ll want to make sure the nailer is operating properly before using it on your project. And if you are new to brad nailers, you’ll want a bit of practice first.
How to Use the Electric/Cordless Brad Nailer
These two nailer types are similar in operation to the Pneumatic nailer but use electric current as opposed to compressed air to ‘shoot’ the nail into the wood.
- Loading the Brad Nailer
Most nailers load in a way similar to what is outlined below, but check your model’s specific instructions before proceeding:
- Ensure it is turned off and that is not plugged in to a power source. This is important to prevent accidental release of a nail before you are prepared. Safety first!
- Assemble the manufacturer-recommended nail types and sizes.
- Check the direction the nails should be inserted in and slide them through.
- The brad nailer should be held upside down while the nails should lie against the channel’s wall.
- Slide the latch backward and reconnect the nailer to the power source. If it’s battery-powered, power it on and drive your nails through your workpiece.
For each power tool, there is the predetermined purpose it is intended to serve. For the brad nailer, its role is to drive nails through wooden work pieces and it can be a handy tool if you need to make cabinets, trims, and any other wooden projects. With the right tools for the job, there is nothing that should stop you from making your own furniture, trim pieces or cabinetry from the convenience of your home or workshop as an amateur, DIYer or professional.
Not up for a project on your own? If you live in the Rochester or Finger Lakes region of New York, you can find a professional to help with you project at www.FindTheHomePros.com.

Recent Comments