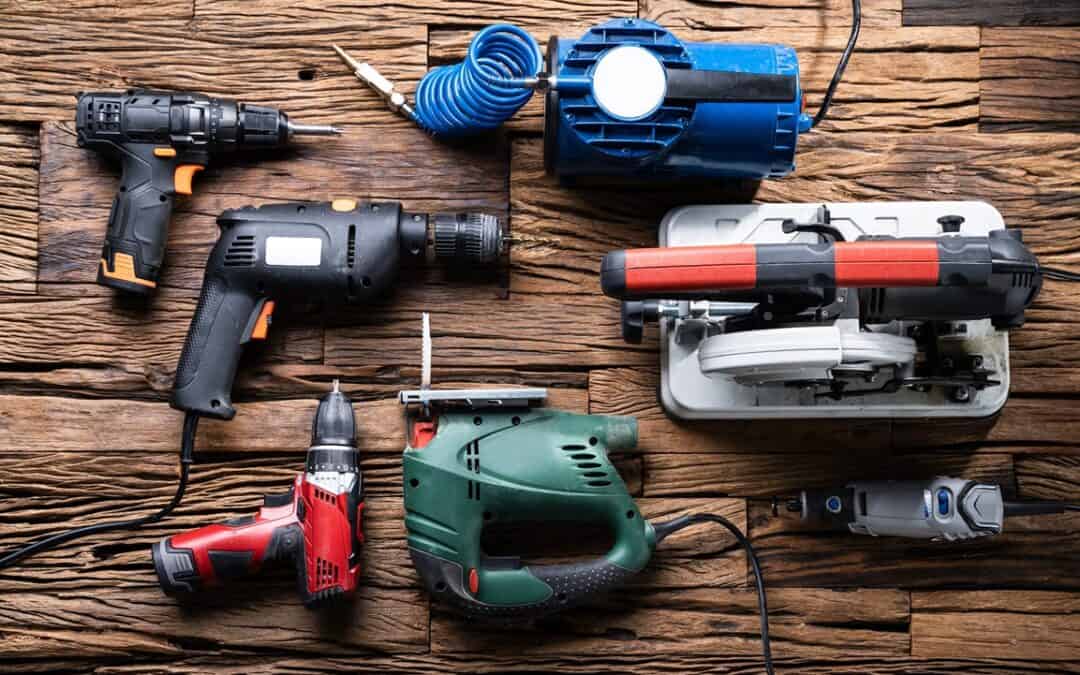
The rhythmic hum of a power tool in your hand, the satisfying scrape of wood against a blade, the pride of a project well-built – these are the joys of do-it-yourself (DIY) crafting.
Nonetheless, even the most reliable of tools can sputter, leaving you staring at a half-finished masterpiece and a pile of sawdust-coated frustration. Don’t fret, fellow fixer-uppers! This guide will equip you to tackle common power tool issues like a seasoned pro, transforming you from a bewildered bystander to a DIY master, ready to conquer any repair with a screwdriver and a can-do spirit.
Read on to learn more.
Diagnosing Common Power Tool Issues With Precision

The following are some common power tool issues in doing at-home DIY projects and how you can deal with them:
- No Power
Before wielding soldering irons, first check the obvious. Is the tool plugged in? Is the outlet functioning? Has the fuse blown? Simple solutions can sometimes be the most effective. If the power’s on, inspect the cord for any nicks or fraying. Replace a damaged cord for safety. Remember, frayed cords pose a serious electrical hazard.
- Not Starting Up Properly
Does your trusty drill sputter and cough instead of roaring to life? Worn-out carbon brushes, the unsung heroes of motor function, might be the culprit. These small blocks transfer electricity to the motor and need periodic replacement (usually indicated by sparking).
- Check The Carbon Brushes
Sometimes the carbon brushes can become worn out in your power tools, leading to poor performance and sparking. Luckily, you can replace these fairly easily, by purchasing replacements online (we recommend the site Top Deals Online).
Consult your tool’s manual for brush location and replacement instructions. Remember, fresh carbon brushes are like a new lease on life for your motor, providing smoother operation and extending the tool’s lifespan.
- Loose Chuck
Ever feel like your drill bit is doing the samba instead of boring a clean hole? A loose chuck, the mechanism that grips the bit, could be the culprit. Tighten the chuck key (not with the Hulk’s grip!) following the manual’s instructions. If the chuck is damaged or worn, consider replacing it for optimal grip and precision. A tight chuck is like a firm handshake for your drill bit, ensuring accuracy and preventing frustrating wobbles.
- Smoke Coming Out Of The Tool
If your tool starts billowing smoke, shut it down immediately and unplug it. Overheating, overloaded circuits, or faulty wiring could be the culprit. Don’t attempt repairs yourself – consult a qualified professional to avoid electrical hazards. Remember, smoke signals are not a DIY project, they’re a call for professional help.
- Noisy Gears
Grinding noises and jerky operation often point to worn gears. While gear replacement can be more complex, some tools allow for DIY repairs. Consult your manual and online tutorials for specific instructions. Remember, safety first – wear gloves and eye protection when working with gears.
- Dull Power Tool Blades
Dull or damaged blades can hinder performance and even pose safety risks. Sharpen dull blades using appropriate tools (like a file for drill bits) or replace them as needed. Remember, the right blade for the job is crucial – consult your manual for compatible blade types.
- Malfunctioning Laser
For laser-guided tools, a misaligned or malfunctioning laser can throw off your precision. Check the laser lens for dirt or debris and clean it gently. Some lasers have calibration screws – consult your manual for adjustment instructions. If the laser remains faulty, professional repair might be necessary.
Preventative Maintenance For Power Tool Longevity

To make sure that your power tools are in pristine condition at all times, regular upkeep is key. Continue reading below to learn more.
- Cleanliness Is Next To Godliness
Regularly clean your tools with a damp cloth and compressed air to remove dust and debris. This prevents overheating, clogging, and premature wear.
- Lubricate Like A Pro
Consult your manual for lubrication points and recommended lubricants. A few drops of oil can go a long way in keeping your tools running smoothly, keeping them supple and preventing friction that could lead to wear and tear.
- Store Smartly
Avoid damp and dusty storage areas. Hang tools on hooks or store them in sturdy cases to prevent accidental damage. Remember, your tools deserve a palace, not a dungeon. Store them properly and they’ll be ready to tackle any project when you call upon their trusty comrades.
In addition, don’t forget to invest in proper storage solutions like toolboxes or pegboards, keeping your tools organized and readily accessible.
In Conclusion

By understanding common DIY power tool issues, wielding troubleshooting techniques like a master, and implementing preventative maintenance like a dedicated tool whisperer, you can transform frustration into fix-it fiestas.
Remember, DIY is a journey, not a destination. Embrace the challenges, celebrate the victories, and never stop learning. With this guide as your companion and a can-do spirit as your fuel, you’ll be conquering power tool dilemmas and crafting masterpieces in no time. So grab your tools, roll up your sleeves, and get ready to unleash your inner DIY master.

Recent Comments