Want to convert your garage into a workshop? Then these five tips should help you get on the right track.
Why do most woodworkers end up working from their garage? Most homes have a garage with underutilized space, and so it is often the first place for someone who is starting as a woodworker to set up shop. The garage is easy to access with larger projects (no stairs to deal with) and probably has decent lighting.
Garages already typically have a handful of outlets, easy access from the front, and it is an open space. But there are limitations that need to be overcome so that the garage can become a fully functioning workshop. Below we look at a few things you’ll want to do when prepping to set up a workshop in your garage.
Tip no. 1: Plan the Layout Ahead of Time
The first step to setting up a workshop in the garage would be to empty out the space and then start planning. You will want to plan for everything you are wanting for this space from the larger tools (that may take up floor space) to shelves, a space for the buzz saw, etc.
You can make planning easier by drawing up a plan. Some graph paper is all you need to draw the shape of the garage to scale. Then it is time to start thinking about where to place everything.. Once everything is planned, then only should you move to the next step. It’s much easier to change your plan on paper than change the actual layout midstream.
Tip no. 2: Add Power Sources for all the Tools
We see many people initially overlooking this only to have a problem later on. If you have an older home, or simply not enough outlets or power, you need to plan for all the power sources you’ll need. If you have very large power tools you’ll want to set up a parallel electrical system with its own circuit breaker, that way if you do end up causing a short circuit you don’t blow the power to the entire house.
It’s also worth a mention that proper electric as well as proper storage of combustible will help prevent the risk of fire in your garage.
Tip no. 3: Major Tools Come First
If you are currently struggling with setting up the workshop, then you’d want to start with the major tools on the drawing. Things like the miter table, table saw, jointer, and band saw should all come first. (We’re discussing a wood working shop here, but adjust this to your own ‘shop’ needs)
You’ll also want to consider the power requirements of the tools. It’s worth repeating that if the requirements exceed what your current power box can handle, then it may be time to either upgrade or consider less power-hungry alternatives if possible. Trust us, double checking your power sources is an important step.
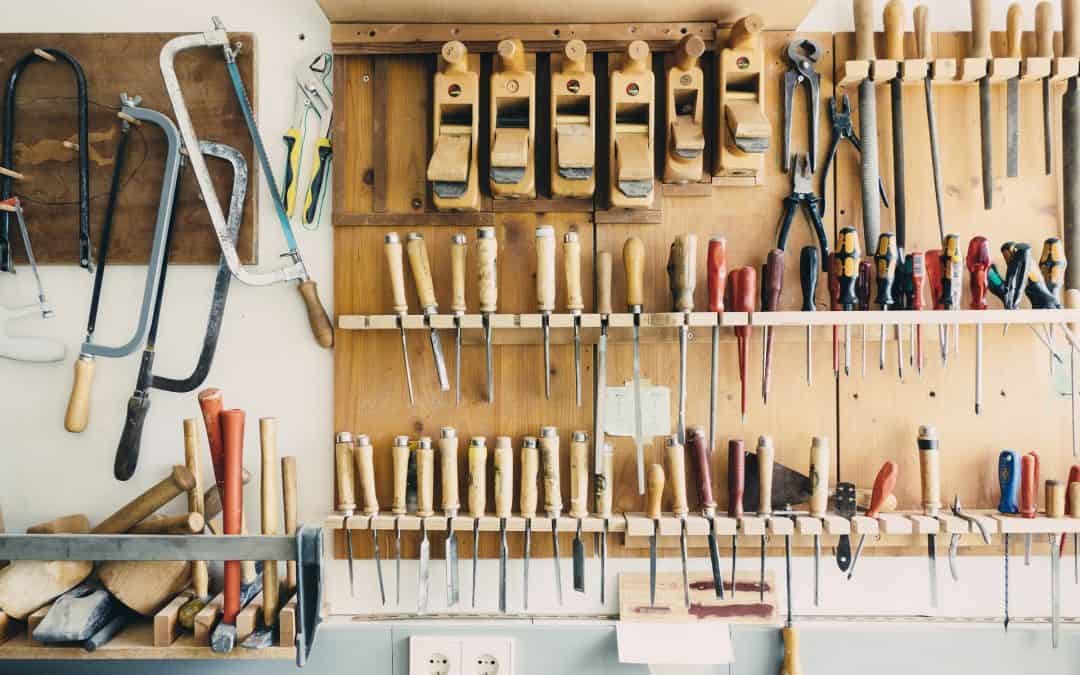
Tip no. 4: Shelves and Storage for Smaller Tools
Tools that you may not use often or smaller tools require a slightly different treatment. You’ll want to build adequate storage space for all these tools. Shelves and cabinets work best for medium and small tools. You can also have space under a long bench where you keep more frequently used small tools, which make it easier to access when needed. It’s almost impossible to plan for too much storage. Draw in plenty of shelves high and low as well as cabinets if your budget allows.
Tip no. 5: Use 2×4’s for Benches
You can easily create long benches in the garage, which makes working easier. The best and perhaps most cost-effective way is to use 2×4’s and some plywood. You can also download and use 2×4 bench plans available online, but they will have to be tweaked to your specific garage shape and size.
Having these work benches will save you time and save your back! It will also help when it’s just your two hands doing the work. Properly arranged benches will work almost like an extra pair of hands!
Bio: Ron K. is an experienced handyman who’s been working for Elite Garage Door of Tacoma for 10 years. When he’s not fixing garage doors, he likes to share his home improvement ideas and knowledge with others.
Recent Comments