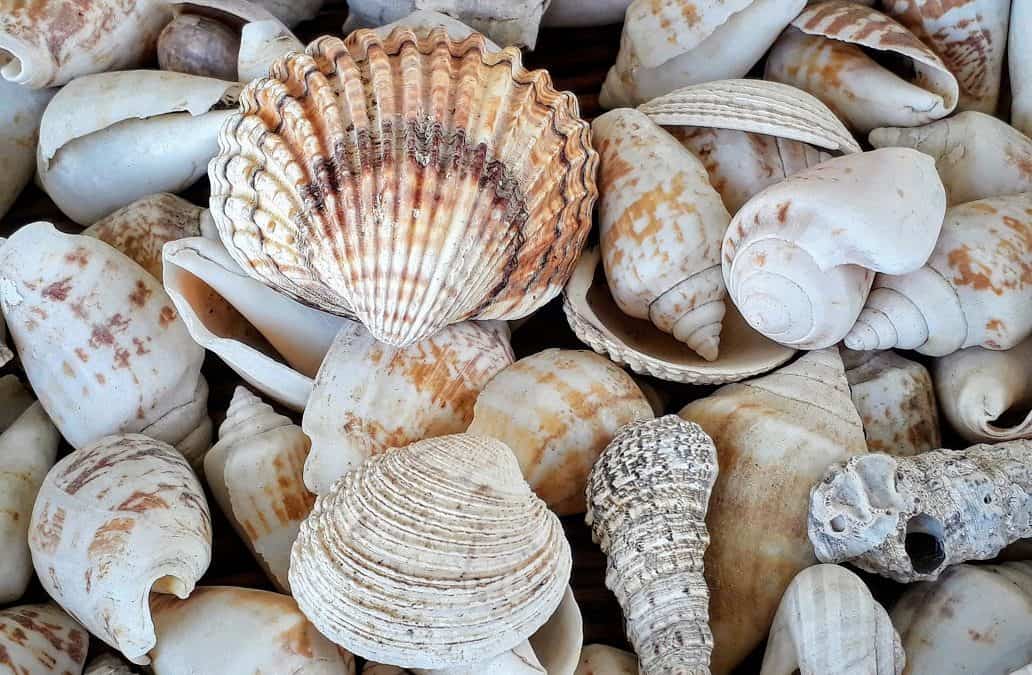
Nothing feels like summer more than the articals you collect along the shores. Weather you’re remembering a favorite family vacation, or on your daily stroll, there’s a good chance your seashell collection is piling up and collecting some dust.
That’s why we love this simple DIY epoxy project that will help you keep your seashells safe for a lifetime, and finally display those memories!
What is Epoxy Resin?
Deep pour epoxy is a chemical mixture sold in two liquid parts, and when combined creates a strong adhesive. Epoxy resin is one of our favorite crafting materials because it allows you the flexibility to pour in any shape (it will mold to whatever you pour it in)! It also can be colored, and used to hold many materials together from wood to shells.
Things to Know Before Working with Epoxy Resin
Epoxy resin is a fantastic crafting adhesive but it’s important that you understand how to properly work with this material. First and foremost, you want to ensure that you have the proper epoxy for your project. There are arrays of brands and types, so it’s important that you do your research. Fundamentally, look for a brand that is produced here in the U.S.A., is UV resistant, and is FDA approved.
Once you’ve found the proper epoxy, it’s crucial that you setup your working area properly. This means that you have a properly vented area, a drop cloth or tarp, and PPE at the ready (gloves, mask, googles). You’ll also want to make sure you’re setup with everything in the supplies list below!
Epoxy Resin Supply List for Seashell Artwork
- Proper epoxy resin for project
- Three mixing buckets (the size will depend on the amount of epoxy you’re working with)
- Tarp or drop cloth
- PPE (mask, gloves, googles)
- Seashells
- Mica Powder (if you want to add color to your project)
- Picture frame
Seashell Epoxy Resin Artwork Steps
We’ll walk you through step-by-step on how to create a epoxy resin photo frame filled with your seashells.
Step One: Layout Shell Design
What we love about this project is that the design is totally up to you! The frame is a blank slate for you to lay out your shells, sand, and other trinkets you may want to include in your project. Once you’re happy with your design, you can set it aside while you move on to mixing your epoxy.
Step Two: Epoxy Resin Pour
With your shell layout finalized, it’s time to prep your epoxy pour. As mentioned before, epoxy becomes an adhesive once both parts are combined. Read the labels carefully on your epoxy jar to make sure you get those ratios correct!
With a combined mixture, you can now add in mica powder if you’d like for coloring. Some ideas for color use can be to create waves, or even a blue and green ombre to remind you of the water.
Once you’re happy with the color and your mixture consistency, it’s time to pour!
Step Three: Finalizing your Epoxy Project
With the pour complete, the last and final step is to let your project cure. Depending on the epoxy you chose, this can take anywhere from 24-72 hours. But it’s worth the wait, because once your project is cured, you’re done!

Recent Comments