
Every property owner eventually faces this job: an old barn or structure that is past its useful life. It’s an eyesore, a safety hazard, and definitely takes up space you need. Taking it down is serious work. It’s heavy, dirty, and a major safety risk if you go about it wrong.
This process is highly rewarding because you are reclaiming usable space. But you have to respect the weight and unpredictable nature of old buildings. This is an informative guide on how to approach barn demolition using smart steps and the right equipment.
We will focus on making the process safe, organized, and manageable with compact equipment. This method works well for smaller barns, sheds, and large outbuildings that are past their prime.
Rule 1: Know Exactly What You Are Dealing With
You can’t start work until you know what the building is made of and what’s feeding it. This is the part that saves lives, so don’t rush it.
A. Clear the Area: First, remove everything from the inside. Anything that can be salvaged—tools, old wood, scrap metal, stored feed—should go. You don’t want anything flying out or getting buried in the rubble. Clearing the interior also lets you see the frame and understand how the barn was built, which is key for a controlled takedown.
B. Shut Off Utilities: This is the most critical safety step. Find the main power line and water line running to the barn and turn them off at the source. If you see an old electrical line, call an electrician to disconnect it professionally. Never assume a wire is dead. Even disconnected wires can hold a small charge or, worse, become a trip hazard tangled in the debris.
C. Check Permits and Notifications: Call your local planning office. Demolition often requires a permit, even on your own property. Also, if the barn was built before the 1980s, you need to check for hazardous materials like asbestos or lead paint. Asbestos is common in old siding and roofing materials. Handling these materials requires a professional crew and special disposal. If you find them, stop work and get expert help. Don’t touch them yourself.
D. Check the Foundation: Is it just posts set in the dirt? Or is there a full concrete slab? Knowing this determines whether you need a ripper or a breaker. If you have a solid concrete foundation, you know right away you’ll need a breaker attachment to chip it up—plan for that time and the rental cost upfront.
E. Sort Your Waste Plan: Demolition creates massive amounts of debris. You need large dumpsters or a designated area for sorting. Plan to separate materials: lumber, scrap metal (tin roofing, nails, pipes), and concrete/rubble. Sorting saves huge amounts of money at the landfill, and salvaged wood or metal can sometimes be sold. Have your sorting plan set up before the first piece hits the ground.
Step 2: Taking the Structure Apart, Not Down
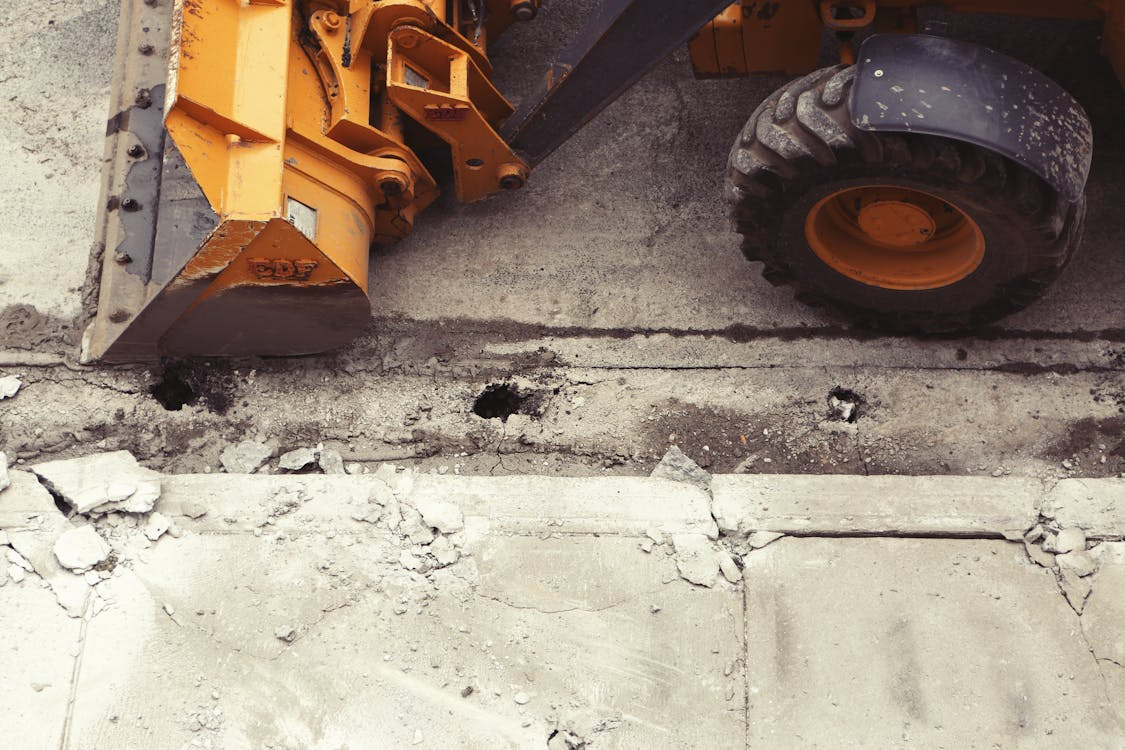
The safest way to demolish a barn is to deconstruct it, not just flatten it. You want to control the fall of every section. This is where a mini digger becomes invaluable. Even a small machine with its precise control is better than a sledgehammer and a ladder. The machine keeps you a safe distance from the falling debris.
A. The Controlled Fall Zone: Before you start, choose a safe drop zone—an area in the middle of the barn or right next to it. Mark it clearly. Make sure people, vehicles, and other buildings are well clear.
B. Taking the Roof Apart: The roof is often the lightest, most unstable part. If the sheathing is metal, use a utility knife to cut away any sealing or flashing around the edges you can safely reach. Then, use the machine. Attach a Log grab to the boom. Reach up, clamp onto a manageable section of truss or metal roofing, and gently pull inward toward the center of the structure. The grab lets you peel the material off the rafters one piece at a time. This keeps large sheets from flying and makes stacking them easier.
C. Handling Walls Inward: Once the roof is off, the walls are next. Use the flat side of your digging bucket. Start in a corner section. Gently push the wall inward, toward the clear area you established. Do not push outward. Focus on pushing near the top and getting the wall to hinge at the base. Taking walls down in sections—maybe 8 to 10 feet wide—is much safer than trying to push an entire side at once. It also makes cleanup easier later.
Step 3: Use Specialized Tools for the Tough Stuff
You can waste hours trying to dig out a footing with a regular digging bucket. The right attachment makes a twenty-minute job out of a half-day struggle.
A. Extracting Posts and Footings: This is where the mini digger shines. If your barn posts are buried in concrete footings, you do not want to dig a large hole around them. That takes too long and wastes ground. Instead, expose the post slightly, then use the Log grab again. Clamp it tight right near the ground. Use the machine’s lifting power and curling action to lift and pop the post out of the ground slowly. It comes out clean with the footing still attached. Then, you can easily carry the post-and-footing combo to your debris pile. This is faster, cleaner, and better for the ground.
B. Breaking the Concrete Slab: If you hit a concrete floor, you need percussive force. Trying to pry it up with the ripper or bucket will only strain the machine and wear out your pivot pins prematurely. Use the hydraulic breaker. Work slowly in parallel lines, breaking the concrete into manageable chunks. Then, you can scoop up the broken chunks with a standard bucket.

Step 4: Cleanup and Site Restoration
The demolition is done, but the job is only half finished. Cleanup determines how fast you can start using the space again.
Use the grab to pick up large beams and roof rafters and move them directly to the lumber pile. Use the mini digger you are running to pick and place the debris precisely. The size of these machines makes them perfect for maneuvering around piles to sort materials.
After all the large debris is moved, use a rake attachment to clear the site of smaller debris, nails, and splintered wood. You don’t want sharp scrap metal or nails left in the dirt. This final clearing step ensures the ground is safe for use and ready for your next project.
Demolition is tough, but by treating it like an organized deconstruction job—using the right tools and staying methodical—you can safely reclaim that space and move on to building something new.