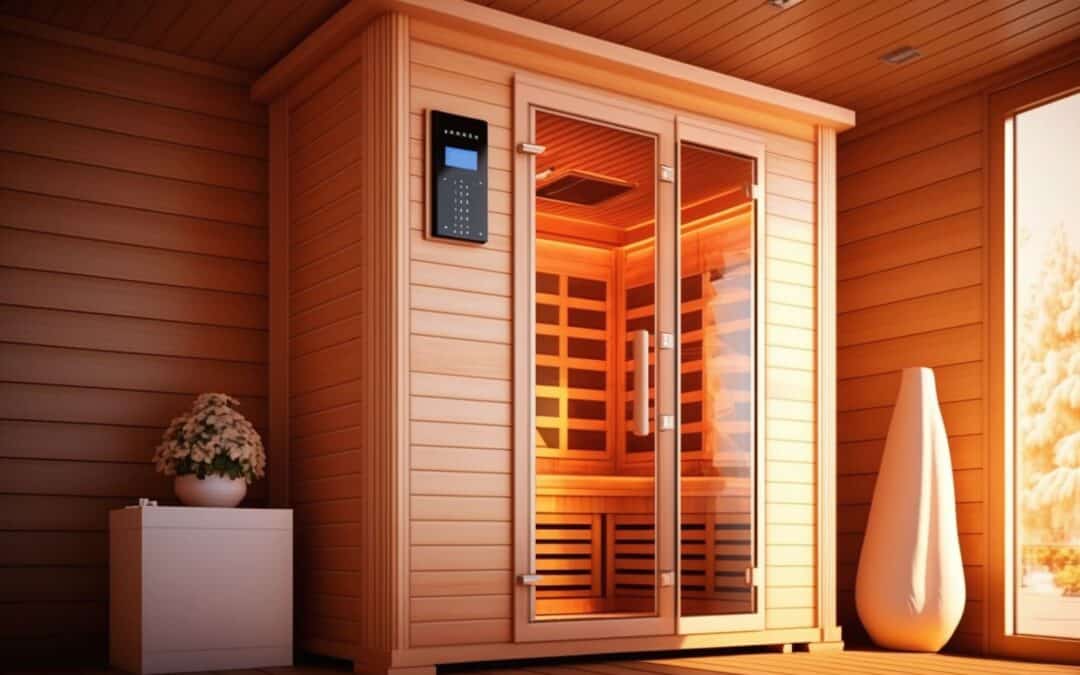
The appeal of infrared saunas has surged over the years thanks to their holistic benefits. From stress relief to detoxification and improved circulation, the list of positives goes on.
But rather than venture out to a spa or wellness center for each session, isn’t it more convenient to have a personal infrared sauna in your home? Bringing this luxury wellness retreat into your home is possible and simpler than you imagine.
This article will help you choose the right infrared sauna and guide you step-by-step through installing it.
Choosing the Right Infrared Sauna
Before installation, your first step is selecting the right infrared sauna. Given the plethora of options available, this can seem overwhelming. Remember, the best infrared saunas are not just the most expensive but blend quality, functionality, and affordability.
Consider factors such as size, materials used, and the number of heaters. You can also browse websites that offer consumer reviews, or consult wellness forums for recommendations, ensuring you’re purchasing your infrared sauna from a reputable seller known for quality and service.
Additionally, consider the number of users it can accommodate, especially if your family or friends plan to share in the wellness experience.

The Installation Process
Installing an infrared sauna at home involves a series of crucial steps that ensure a smooth setup process. They are as follows:
- Find the Perfect Spot
Once you’ve picked out your ideal infrared sauna, you must find the perfect spot to place it. The location should have easy access to an electrical outlet, be large enough to accommodate the sauna, and preferably have some privacy.
Some popular locations are the basement, garage, backyard, or large bathroom. Consider also the surface on which the sauna will stand; it should be flat and stable to ensure the structure remains secure.
- Assemble the Infrared Sauna
After your sauna arrives, you’re ready to assemble. Start by unboxing and laying out all the components in front of you. Typically, the package includes pre-cut panels, heaters, lights, a control panel, and hardware for assembly.
The instruction manual provided should guide you through the assembly process. While the steps vary depending on the model, most saunas are designed for easy assembly, often requiring a screwdriver. Take your time to follow the instructions in the letter.
- Meet the Electrical Requirements
Meeting electrical requirements is crucial for your infrared sauna’s safe and efficient operation. Most units require a dedicated 15–20-amp circuit, although some larger models might need more.
The outlet should be grounded and close to the unit for easy connection. If you’re unsure of any aspect regarding electrical installation, don’t hesitate to contact a professional electrician. Safety should always be your priority.
- Implement Safety Measures
With your sauna installed, the next step is ensuring its safe use. Implement rules such as not leaving the sauna unattended when turned on, adhering to the recommended duration for sessions, and avoiding usage when under alcohol.
Installing a carbon monoxide detector nearby is another recommended safety measure. Remember to read the user manual for specific safety instructions regarding your sauna model.
Infrared Sauna Controls and Its Maintenance
Once your sauna is assembled and plugged in, take some time to understand its controls. These typically include temperature adjustment, timer settings, and light controls.
Some of the best infrared saunas also feature controls for additional elements such as music or chromotherapy lighting. Getting familiar with these will help you customize each session to your liking.
Proper maintenance is key to prolonging your sauna’s life and ensuring it operates at its best. Regularly clean the interior with a mild, non-abrasive cleaner to remove sweat or grime. Keep the exterior dust-free and check the electrical components periodically for potential issues.
The heaters should be wiped down occasionally but remember to do this when the sauna is off and cooled down to avoid burns.
Aftercare
Finally, remember that each sauna session is intense for your body. After each session, let your body cool down gradually rather than rush to a cold shower. Drink plenty of water or electrolyte-replenishing drinks to avoid dehydration. Rest before continuing your day, allowing your body to process the detoxification and relaxation effects.
While these aftercare tips are generally beneficial, it’s important to remember that everyone’s body reacts differently to sauna sessions. Always listen to your body, and don’t hesitate to seek medical advice if you experience any discomfort or adverse reactions.
Conclusion
Transforming your home into a personal wellness retreat with an infrared sauna is rewarding. It elevates your home’s luxury quotient and provides various health benefits at your convenience. With careful planning, a little elbow grease, and a focus on safety, you can enjoy the rejuvenating experience of an infrared sauna from the comfort of your home.
Begin your journey by exploring FindTheHomePros.com, an invaluable resource in helping you make this rewarding transformation happen. So, what are you waiting for? Start your wellness journey today!

Recent Comments