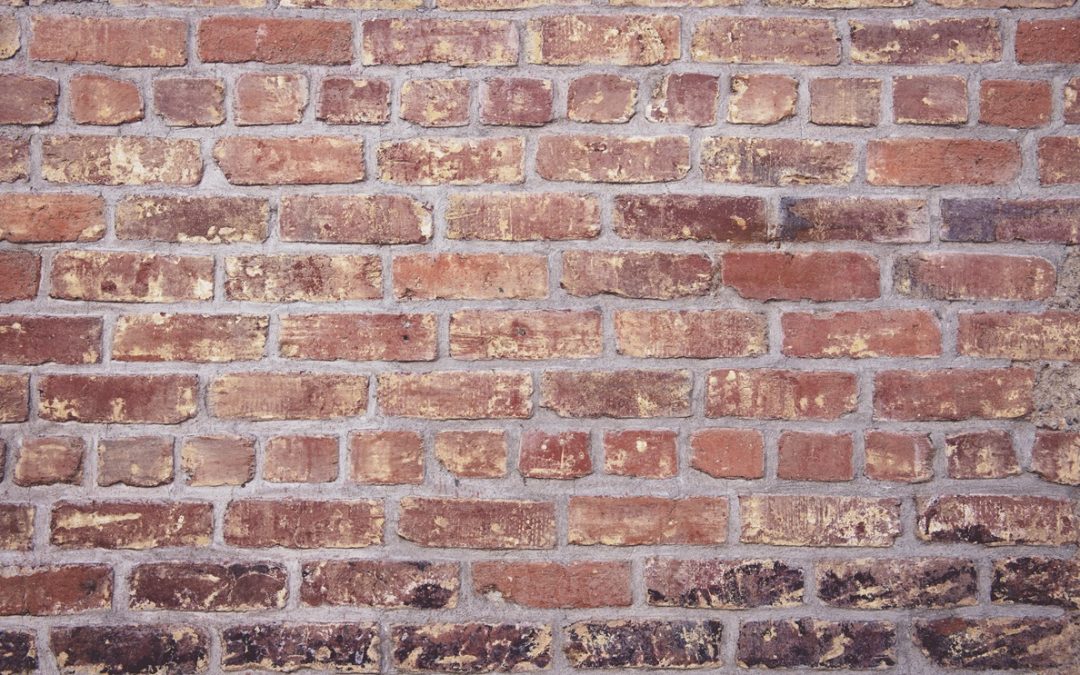
Tuckpointing, a traditional masonry technique, plays a crucial role in the maintenance and restoration of brick buildings. This method not only enhances the aesthetic appeal of brickwork but also strengthens its structural integrity by replacing old, deteriorating mortar with new, durable mortar. Ideal for historical restorations and modern buildings alike, tuckpointing breathes new life into brick structures, ensuring they stand the test of time. This article delves into the world of tuckpointing, exploring various techniques and considerations to revitalize brickwork effectively.
Understanding Tuckpointing and Its Necessity
In regions with significant architectural history or extensive use of brick construction, like Sydney, tuckpointing becomes essential for building maintenance. Professionals specializing in brick repointing Sydney help preserve the city’s charm by meticulously restoring the brickwork of old buildings, safeguarding them against weathering and decay. Tuckpointing not only restores the visual appeal but also prevents moisture from seeping into brick walls, which can cause extensive damage over time.
The Process of Tuckpointing
Tuckpointing involves several steps to ensure a flawless finish and durable restoration:
- Removing Old Mortar: This initial step requires precision; the old mortar is carefully ground out to a uniform depth using tools like angle grinders fitted with diamond blades, ensuring not to damage the bricks.
- Cleaning the Joints: Once the old mortar is removed, the joints are thoroughly cleaned of any debris or dust to prepare them for the new mortar.
- Applying New Mortar: A new mortar mix, matched in color to the original mortar, is then pressed into the clean joints.
- Finishing Touches: The final step involves the actual ‘tuckpointing,’ where a fine line (a ‘tuck’) of contrasting mortar or putty is applied over the fresh mortar joints, giving the illusion of fine, perfectly shaped joints.
Choosing the Right Mortar
Selecting the appropriate mortar mix is critical in tuckpointing. The new mortar must match the historical architecture’s physical and aesthetic properties, including strength, composition, and color. Mortar that is too hard can damage the softer, older bricks, while too soft a mortar might fail to protect the structure effectively.
Advanced Tuckpointing Techniques
As tuckpointing has evolved, so have the techniques and materials used, enhancing the efficiency and effectiveness of the process.
Color Matching
Advanced color-matching techniques ensure that the new mortar complements the existing brickwork seamlessly, maintaining the original appearance of the building. This is particularly important for historical restorations, where preserving the authentic look of the facade is essential.
Sealants and Waterproofing
Post-tuckpointing, applying sealants can protect the mortar from moisture and environmental damage, extending the life of the brickwork. Modern sealants allow the bricks and mortar to breathe, preventing trapped moisture while shielding the joints from water penetration.
The Role of Tuckpointing in Historical Preservation
Tuckpointing plays a pivotal role in the preservation of historical structures, allowing us to maintain architectural integrity and prolong the lifespan of our heritage buildings.
Case Studies of Successful Restorations
Many historical buildings around the world have been preserved through meticulous tuckpointing efforts. These projects often involve collaboration between historians, architects, and skilled masons to ensure that every aspect of the restoration honors the original construction techniques and styles.
Challenges in Historical Tuckpointing
Restoring historical buildings presents unique challenges, such as matching obscure mortar compositions or working with weathered and fragile bricks. Skilled craftsmen must often reverse-engineer mortar formulas or employ specialized techniques to replicate the original craftsmanship accurately.
DIY Tuckpointing: Tips and Tricks
For smaller projects or maintenance work, DIY tuckpointing can be a rewarding endeavor. However, it requires careful planning and execution to achieve professional-quality results.
Necessary Tools and Materials
To undertake a tuckpointing project, you will need:
- A hammer and chisel or an angle grinder for removing old mortar.
- A pointing trowel for applying new mortar.
- A mortar hawk to hold the mortar.
- A tuckpointing tool for finishing the joints.
Step-by-Step Guide for Homeowners
- Safety First: Always wear protective gear, including gloves, goggles, and a dust mask.
- Removing the Old Mortar: Carefully remove the deteriorating mortar without damaging the bricks.
- Mixing and Applying Mortar: Prepare the mortar mix according to manufacturer instructions and apply it carefully into the joints.
- Tuckpointing: Use a tuckpointing tool to create neat, straight lines that define the professional look of the restored brickwork.
Revitalizing Brickwork with Mastery
Tuckpointing, a blend of art and science, requires patience, precision, and a deep understanding of masonry techniques. Whether undertaken by professionals in Sydney or by DIY enthusiasts, it revitalizes brick structures, restoring their beauty and structural integrity. Through tuckpointing, not only do we preserve the physical appearance of our buildings, but we also maintain a tangible connection to our past, celebrating the craftsmanship and heritage that these brick structures represent.
Photo by Tim Mossholder: https://www.pexels.com/photo/brown-wall-cladding-912124/
Recent Comments