Painting a house is one of the most impactful ways to refresh its appearance and increase its value. Whether you’re tackling an interior or exterior project, proper preparation is key to ensuring a smooth, professional finish. Skipping essential steps can lead to uneven coats, peeling paint, or even damage your home’s surfaces.
Read on to learn how to prepare for painting a house.
Evaluate the Condition of the Surfaces
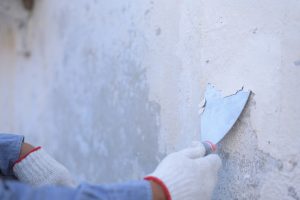
Before diving into a painting project, it’s essential to assess the condition of the surfaces that need to be painted. Examine walls for cracks, peeling paint, mold, mildew, and other imperfections that could affect the outcome. By addressing these issues beforehand, you can ensure the paint adheres properly and lasts longer.
Furthermore, for exterior projects, you’ll also need to look for signs of rot in wooden areas, rust on metal components, and any water damage on the walls. Taking the time to repair any structural issues now can prevent larger, more expensive repairs later.
Choose the Right Paint and Materials
Selecting the right type of paint is crucial for both appearance and durability. Various surfaces require different types of paint, so it’s important to know whether you’ll need latex, oil-based, or specialty paints, depending on the material and exposure to weather or moisture.
Some factors to consider include:
- Weather conditions for exterior paints;
- Gloss level (flat, satin, semi-gloss, or high-gloss) for interior or exterior surfaces;
- Eco-friendly options include low-VOC (volatile organic compounds) paints for better air quality.
Additionally, high-quality brushes, rollers, drop cloths, painter’s tape, and cleaning supplies are important. If you’re unsure about your selection, professional painters can often recommend the best tools for the job.
Gather the Necessary Tools and Supplies
Having all the tools and materials you need on hand before you start painting can save you a lot of time and frustration. Gather brushes, rollers, painter’s tape, drop cloths, and paint trays. Don’t forget to wear protective gear such as gloves and safety goggles, especially if you’re working with chemicals or cleaning agents during the prep process.
Also, if you’re working on a larger or more complex project, consider consulting painters who can provide professional insights and help you choose the right equipment for the job.
Protect the Surrounding Areas
One of the most crucial steps in preparing for a painting project is protecting areas you don’t want to get paint on. This includes windows, floors, furniture, and landscaping for exterior jobs. Hence, begin by covering floors with drop cloths and using painter’s tape to mask off areas like trim, windows, and fixtures.
For outdoor projects, be sure to cover plants, furniture, and any other objects near your home that might be damaged by paint splatters. Remove or temporarily relocate anything that could get in the way of your work. By properly protecting your surroundings, you can maintain a clean workspace and save time on cleanup later.
Clean the Surfaces Thoroughly
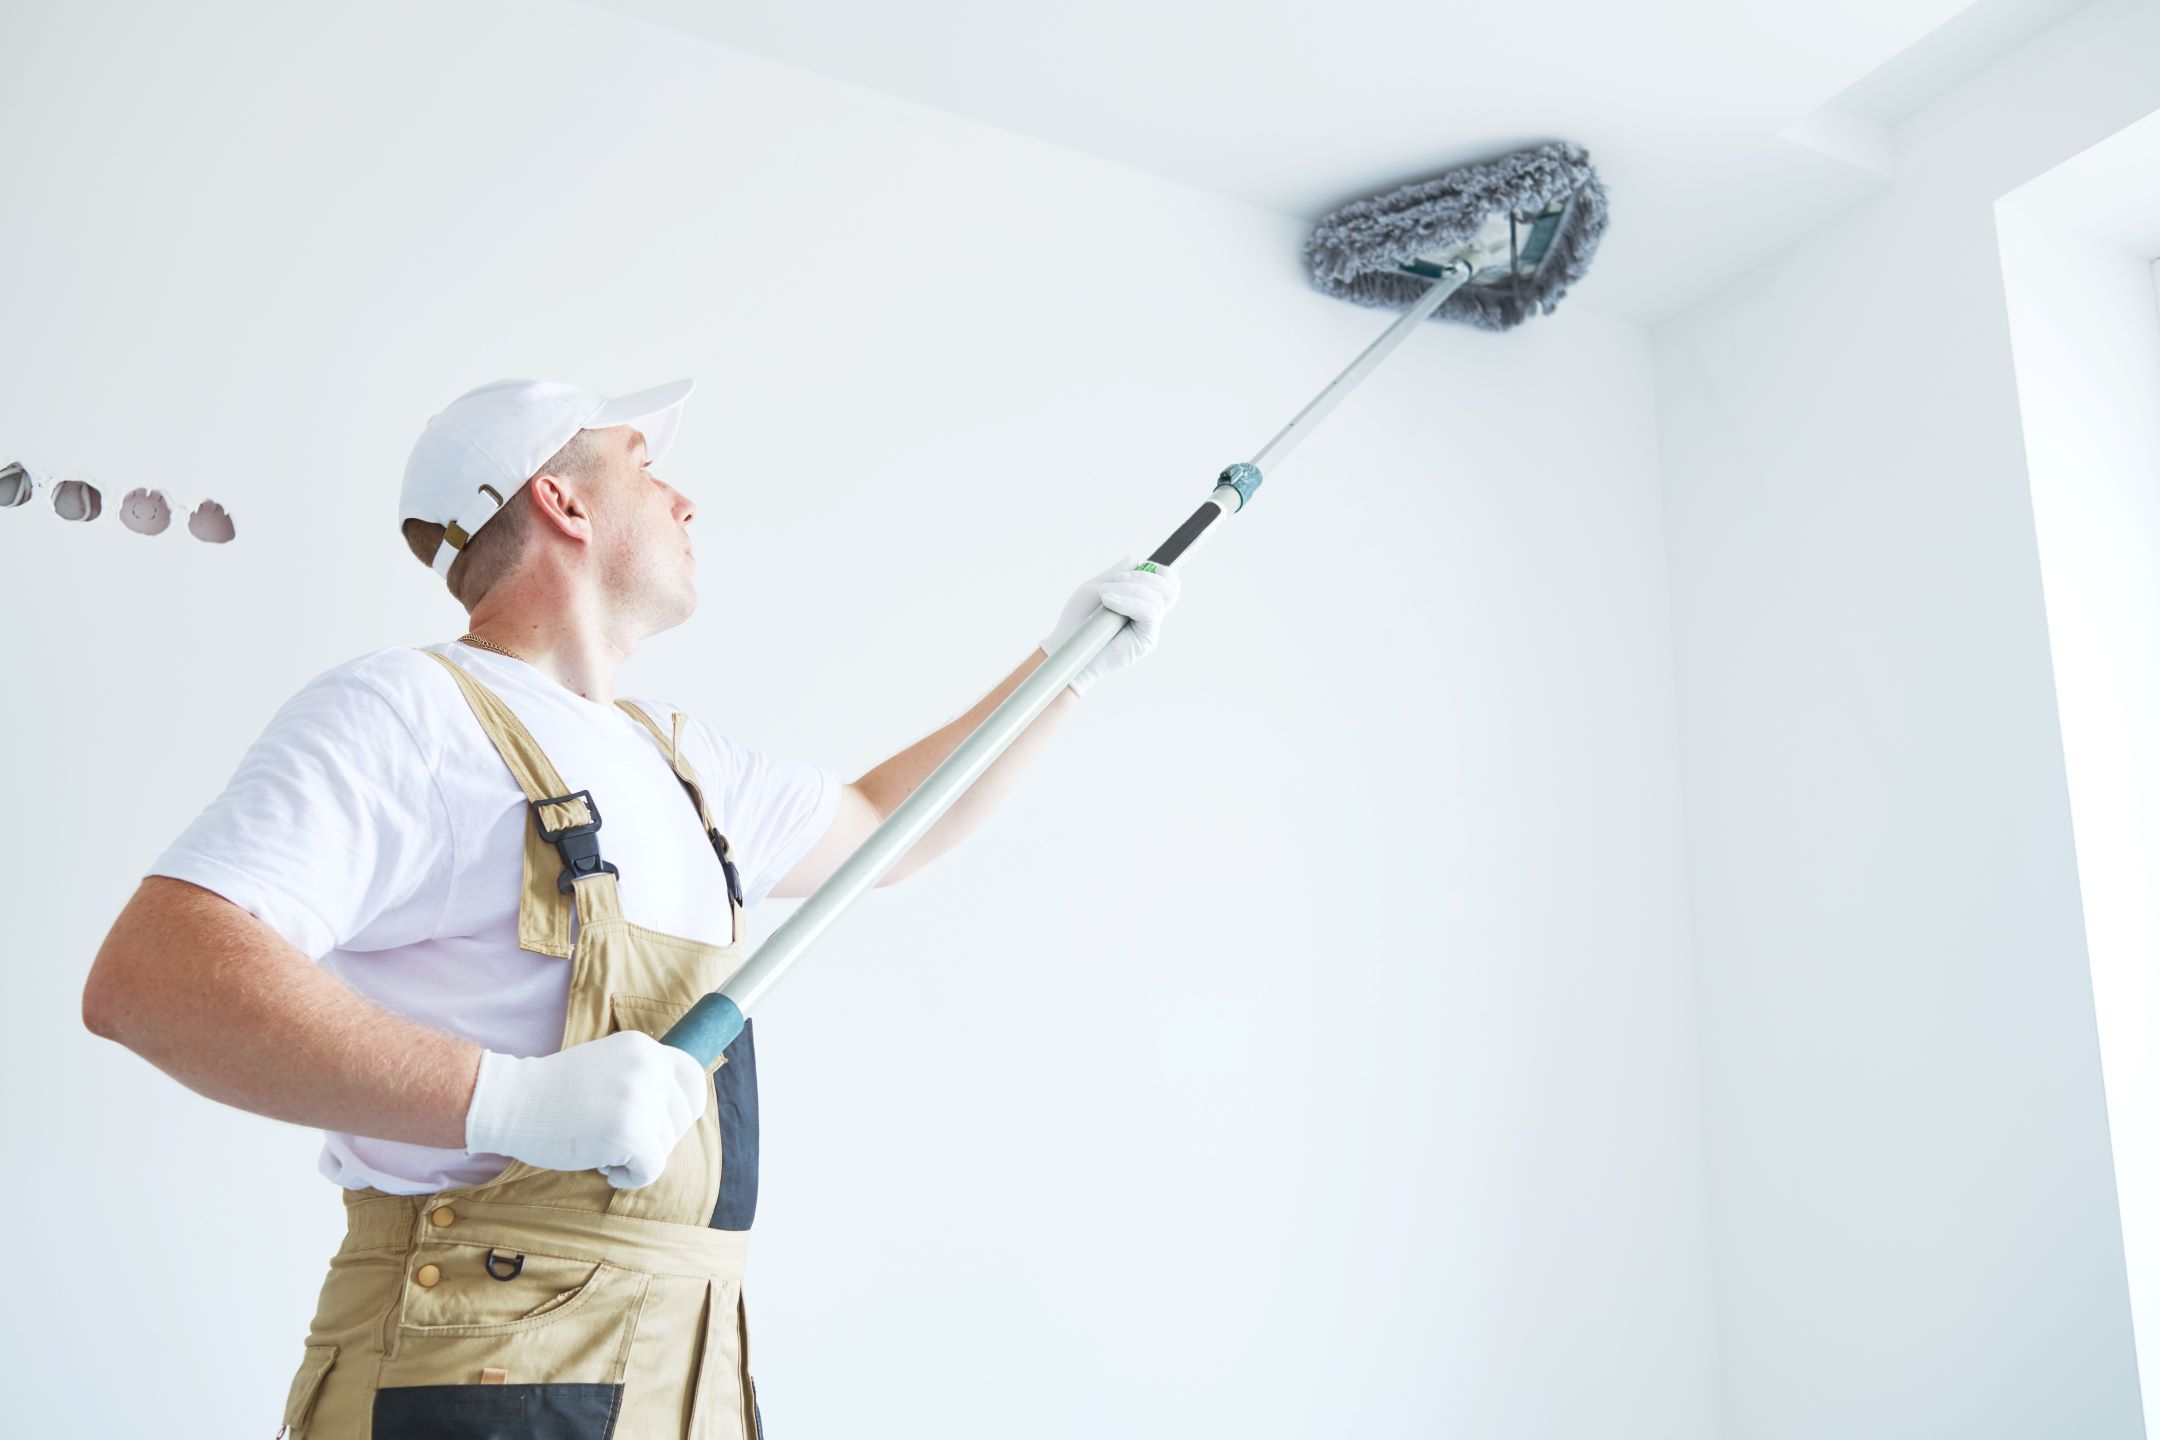
Paint won’t adhere well to dirty or dusty surfaces. Cleaning the surfaces to be painted is an essential step that many homeowners overlook. For exterior walls, this might mean power washing the house to remove dirt, grime, mold, and mildew. For interior walls, a simple sponge with warm soapy water should suffice.
Also, ensure the walls are fully dry before moving on to the next steps. This is especially important for exterior surfaces, where moisture can lead to paint bubbling or peeling over time.
Make Necessary Repairs
Once you’ve cleaned the surfaces, it’s time to repair any damage. Depending on the surface, patch holes and cracks using spackling or wood filler. Sand these areas smooth once they’ve dried to ensure a seamless finish when the paint is applied.
For exterior surfaces, repair any damaged siding, replace rotten wood, and patch up cracks in the stucco. These repairs are essential to creating a durable, long-lasting paint job.
Prime the Surfaces

Priming the surfaces before painting is an important step that shouldn’t be skipped. Primer can help the paint adhere better, provide a more uniform color, and can block stains and odors from seeping through the paint.
Furthermore, priming is important for bare wood, heavily repaired areas, or surfaces that are being painted a drastically different color. It also helps seal porous surfaces, such as drywall, providing a smooth base for the topcoat of paint.
Plan Your Painting Schedule
For exterior projects, the weather can significantly impact the success of your paint job. Ideally, paint when the weather is mild—neither hot nor cold—with minimal wind or rain in the forecast. Extremes in temperature and moisture can cause paint to dry improperly or not adhere to the surface as intended.
For interior projects, plan around your daily routine to minimize disruptions. Ensure you have proper ventilation when painting indoors and that pets and children are kept away from the area while you work.
Ensure Proper Ventilation
Whether you’re painting indoors or out, proper ventilation is crucial. For indoor projects, open windows and doors to allow fresh air to circulate and reduce fumes from the paint and primer. Use fans to help with airflow and speed up the drying process.
For exterior projects, natural ventilation is usually sufficient, but make sure you aren’t painting in confined or enclosed spaces where fumes can become concentrated.
Final Thoughts
A successful house painting project starts long before the paint is applied. Each step in the preparation process is essential for a smooth, long-lasting finish, from evaluating the surfaces to choosing the right materials and ensuring safety. By following this homeowner’s checklist, you can avoid common pitfalls and ensure your home’s new look is beautiful and durable.

